PropBuilds earns a commission if you buy through links on this page, at no extra cost to you.
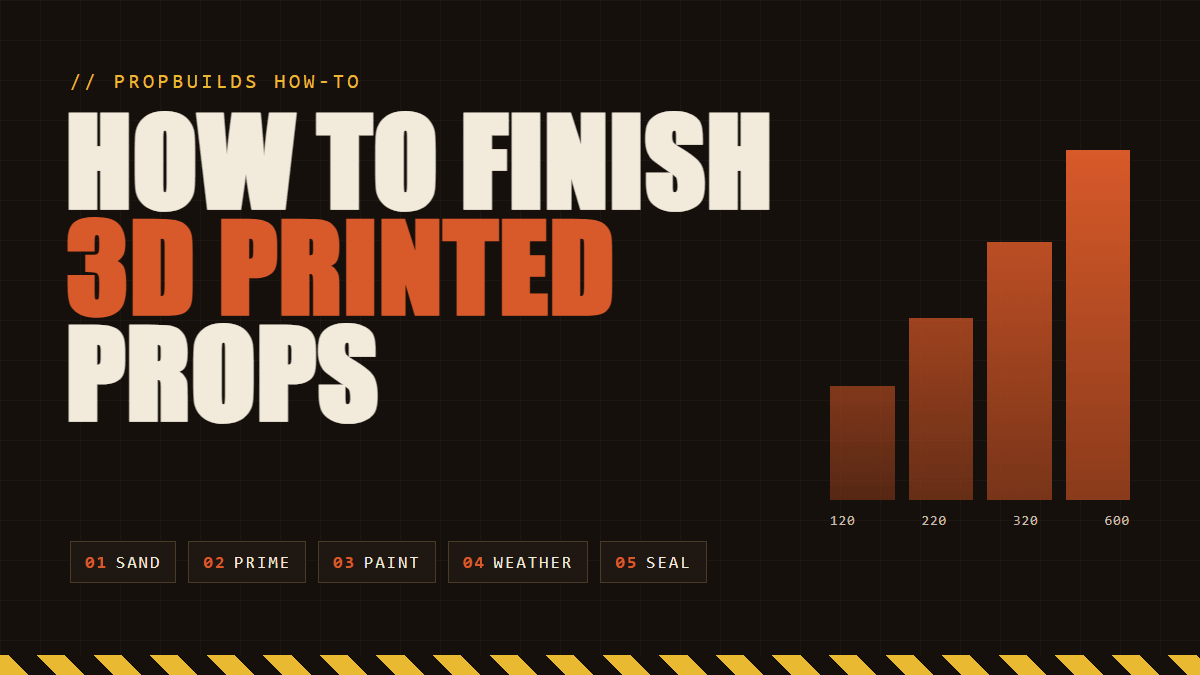
To finish a 3D printed prop, cut off the supports, sand the layer lines with 120 and then 220 grit, fill what is left with a sandable filler primer and spot putty, and sand again at 320. Repeat that prime and sand loop until the surface looks smooth under a raking light, then paint a base coat, add detail and weathering, and seal it with a clear coat. The paint is the fun part, but the loop is what turns a print into a prop.
The short version. Finishing a 3D print takes five stages: clean-up, sanding, the prime and sand loop, paint, and a clear coat. Sand from 120 grit up to 320, use a filler primer and spot putty to fill layer lines, and spray in light coats with a respirator in a ventilated space. PLA is the easiest material to finish, PETG sands slower, and resin should only be sanded wet. Of the 5,491 print files in the 15 PropBuilds print libraries on September 26, 2026, 1,050 are helmets, masks or weapons by their titles: the props that most need this treatment.
What you need
One pick per job. You do not need all of it for a first prop: cutters, a knife, sanding sponges, a filler primer, one paint set and a clear coat will finish most small props. The links go to Amazon, where you can check the current price.
| Stage | What you need | A pick on Amazon |
|---|---|---|
| A printer and PLA filament | Bambu Lab A1 Mini Combo; ELEGOO PLA, 1.75 mm, 1 kg | |
| Clean up | Flush cutters and a hobby knife | Hakko CHP-170 flush cutter; X-ACTO #1 knife with 5 #11 blades |
| Join | Super glue gel (and two-part epoxy for big joints) | Gorilla Super Glue Gel |
| Sand | Sanding sponges, plus wet/dry paper from 120 to 400 grit | 3M dual-grit sanding sponges |
| Fill | Glazing and spot putty | Bondo Glazing & Spot Putty |
| Prime | A filler primer you can sand | Rust-Oleum Filler & Sandable Primer |
| Smooth (optional) | A brush-on epoxy coating | Smooth-On XTC-3D, 6.4 oz |
| Paint | Acrylic hobby paints | The Army Painter Warpaints Fanatic Starter Set |
| Metal effects | A wax metallic finish | Rub 'n Buff Silver Leaf |
| Seal | A flat clear coat | Krylon COLORmaxx Flat Clear |
| Stay safe | A respirator for organic vapors and particles | 3M paint project respirator, medium (6211), or large (6311) |
1. Print it with the finish in mind
The cheapest sanding is the sanding you never have to do, and most of it is decided in the slicer.
- Layer height: curved surfaces like helmets show every layer as a stair step, so print them finer (0.12 to 0.16 mm). Flat parts are fine at 0.2 mm.
- Walls: give parts 3 to 4 walls (perimeters), so sanding never breaks through into the infill.
- Orientation: keep the big visible surfaces off the supports, and put the seam where it will not show, usually at the back.
- Splitting: a prop too big for your bed is split into parts that join along real panel lines, where a seam looks designed. Many prop files already come split that way.
2. Take off the supports and clean up
Snip supports with flush cutters (Hakko CHP-170), which cut flat to the surface, then shave the leftover nubs with a hobby knife (X-ACTO #1), always cutting away from yourself. Trim the brim and the flared first layers off the bottom edge the same way. Wear glasses: support pieces fly.
3. Glue the parts and fill the seams
Super glue gel (Gorilla Super Glue Gel) is enough for small parts, and the gel stays where you put it. For big or load-bearing joints, like a helmet's halves or a rifle stock, use a two-part epoxy. A short piece of filament or wire across the joint, sunk into holes on both sides, keeps the parts aligned and makes the joint much stronger. Once the glue has set, fill the seam with spot putty and sand it flush with the rest.
4. Sand the layer lines
Start at 120 to 150 grit on the layer lines and support scars, then go over everything at 220 to take out the scratches. Sanding sponges (3M dual-grit sponges) follow curves better than flat paper. Keep the pressure light: friction heats PLA and it smears instead of sanding, and it is easy to sand through a thin wall or soften a sharp detail. From 320 grit up, sand wet with wet/dry paper: water keeps the dust down and the paper from clogging.
5. Prime, fill and sand again
Spray a filler primer (Rust-Oleum Filler & Sandable Primer) in light coats, at the distance and recoat times printed on the can. Let it dry fully, then sand at 220 to 320. The primer stays in the low spots and the layer lines start to disappear. Whatever is still there, pinholes, deep lines and seams, gets a thin layer of glazing and spot putty (Bondo Glazing & Spot Putty). Sand it flush and prime again.
A guide coat makes the loop faster: mist a contrasting color (black over gray primer works) and sand. The high spots lose the color first, and anything still dark after sanding is a low spot that needs filling. Stop when the primer is even and a light shone across the surface shows no lines.
A shortcut for smooth shapes. A brush-on epoxy coating such as Smooth-On XTC-3D fills layer lines by itself. Its listing gives a 2 to 1 mix by volume, 10 minutes of working time and a hard cure in 3.5 hours, and it self-levels. Thin coats matter, because it also softens fine detail, and the listing says to test it on your own materials first.
6. Paint the base coat
Spray the main color in several light coats rather than one heavy one, which runs. For two-tone armor, mask the panel lines with tape. Brush-on acrylics handle the details: a starter set like The Army Painter Fanatic Starter Set (11 paints of 18 ml each) covers the basics. For painted metal, start from a dark base, black or gunmetal, and bring the metal up on the edges with a silver dry brush or a wax metallic like Rub 'n Buff Silver Leaf, which goes on with a finger, a cloth or a brush and is then buffed.
7. Weather it
Weathering is what makes a prop look used instead of new, and every trick below uses the paints you already have.
- Dry brushing: wipe almost all the paint off a stiff brush, then flick it across raised edges. It picks out detail and worn metal.
- Washes: thinned dark paint flowed into the recesses and wiped off the high points reads as grime.
- Chipping: dab dark brown or silver on edges with a torn piece of sponge, where hands and hits would wear the paint.
- Rust: stipple oranges and browns where water would sit and run. In Rust the weapons and facemasks are built from scrap metal, so they can take far more rust than most games' props.
Work from screenshots of the in-game item: color and wear are easier to match than to invent.
8. Seal it
A clear coat protects the paint from handling. Flat clear (Krylon COLORmaxx Flat Clear) suits worn metal, armor and anything weathered; satin or gloss suits painted plastic and sci-fi armor. Spray light coats and let it cure fully before the prop is handled or worn. Test the clear coat over any wax metallic on a spare part first. When it is done, here is how to display it so it stays that way.
Stay safe
- Air: spray primer, paint and clear coat outdoors or with strong ventilation, and wear a respirator rated for organic vapors and particles, like 3M's paint project respirator (medium, 6211, or large, 6311). The particle filters cover sanding dust too.
- Skin: wear nitrile gloves for resin, putty and epoxy.
- Eyes and hands: glasses when cutting supports, and always cut away from yourself.
- Labels: every product above has its own warnings and drying times on the can or tube. Those win over any guide, including this one.
PLA, PETG, ABS or resin: what changes
| Material | Sanding | Heat | Good to know |
|---|---|---|---|
| PLA | Sands easily by hand. Friction heat softens it, so fast rotary tools smear it. | Softens around 60 °C (140 °F): don't leave a PLA prop in a hot car. | The most common printing material, and it takes filler primer well. |
| PETG | Gummier: it tends to fuzz, so sand slower with fresh paper, and wet sand. | Handles heat better, around 80 °C. | Tough and less brittle. Scuff every surface before priming. |
| ABS and ASA | Sands cleanly. | Handles heat well, around 100 °C. | ABS can be smoothed with acetone vapor (ventilate well). Both print best in an enclosed printer. |
| Resin | Sand wet to keep the dust down, and wear nitrile gloves: uncured resin irritates skin. | Varies by resin. | Very smooth straight off the printer, so it often needs only primer. Thin parts are brittle. |
Print it, or buy it finished
Every game on PropBuilds has both routes side by side: a print library of files and a catalog of finished props. On September 26, 2026 the 15 print libraries held 5,491 print files, and 4,854 of them were free to download. By their titles, 433 are helmets or masks and 617 are weapons. The biggest helmet collections are in the Star Wars, Marvel and Halo libraries, and the most weapons are in Star Wars, Halo, TF2 and Rust.
If finishing is not your thing, the game props in real life guide collects finished replicas by game, from Counter-Strike 2 and Helldivers 2 to Zelda, and the Rust AK-47 page puts every way to get that one rifle, printed or bought, in one table.
FAQ
Can you paint 3D printed items?
Yes. Acrylic hobby paints and spray paints both work on PLA, PETG and resin prints once the surface is sanded and primed. Primer gives the paint something to grip and hides layer lines. Skip it and the paint chips more easily and the prop still looks printed.
What is the best primer for 3D prints?
For props, a filler primer you can sand, such as Rust-Oleum's Filler and Sandable Primer. It goes on thicker than a normal primer and fills layer lines, and you sand most of it back off between coats. Mist on a regular primer as the last coat if you want the smoothest base for the color.
Can you use Bondo on 3D prints?
Yes. Bondo's glazing and spot putty is made for pinholes, scratches and hairline cracks, which is exactly what is left on a print after the first round of primer. Apply it in thin layers, let it dry, sand it flush and prime over it. Work somewhere ventilated.
How do you make 3D prints smooth without sanding?
You can cut sanding down but rarely skip it on a prop. Print curved surfaces at a lower layer height, brush on a self-leveling epoxy coating such as XTC-3D, or, for ABS only, smooth the print with acetone vapor. A light sanding before paint still gives the best finish.
How do you sand 3D prints with a Dremel?
At the lowest speed, with light pressure and the tool always moving. Friction heat melts PLA and smears the surface, so a rotary tool is best kept for support scars, seams and tight corners, with hand sanding for the big surfaces.
How do you finish PETG prints?
The same way as PLA, only slower. PETG is gummier, so it fuzzes when sanded: use fresh paper, sand wet, and scuff every surface before the filler primer so the primer bonds. After the first primer coat it sands much like PLA.
As an Amazon Associate I earn from qualifying purchases. The Amazon links on this page are affiliate links: check the current price and details on Amazon before you buy.
PropBuilds is a fan-run site, not affiliated with or endorsed by the studios or rights holders of the games mentioned.