// Contents
PropBuilds earns a commission if you buy through links on this page, at no extra cost to you.
To weather a prop, paint it clean first, then add wear in layers: chip the paint where hands and knocks would wear it, run a dark wash into the recesses and wipe it off the high points, rub metallic onto the edges, then add rust and dirt and finish with a flat clear coat. Work from subtle to heavy, and stop sooner than you think; you can always add more.
The rule that makes it look real: wear goes where use happens. Edges, grips and corners wear down to bare metal. Recesses collect grime. Water runs down, so rust streaks run down too. Dust settles on top and on the lower half. Before you start, look at photos of a real worn object and copy where the wear sits, not just how it looks.
Weathering matters more on PropBuilds than on most prop sites: 1,606 of the 5,491 print files we index (29%) come from Rust, Fallout, Escape from Tarkov, STALKER 2, Helldivers 2 and ARC Raiders, games where almost nothing looks new.
What you need
The links go to Amazon, where you can check the current price.
| Job | What works | A pick |
|---|---|---|
| Primer | A sandable filler primer for printed parts | Rust-Oleum filler primer |
| Paint | Acrylics: a metal color, your top colors, black, brown and a rust orange | Army Painter Warpaints starter set |
| Worn metal | A metallic wax for edges | Rub 'n Buff Silver Leaf |
| Sanding through | A fine sanding sponge to wear paint off edges | 3M dual-grit sanding sponges |
| Sealing | A flat clear coat that kills the shine and protects the wear | Krylon COLORmaxx flat clear |
| Household | Hairspray, a kitchen sponge or packing foam, old brushes, paper towels | Already in your house |
Where the wear goes
| Where | What happens there |
|---|---|
| Edges and corners | Bare metal: chips, sanded-through paint, metallic wax |
| Grips, triggers, handles | Paint worn smooth and shiny from hands |
| Recesses, panel lines, around bolts | Dark grime from a wash |
| Below bolts, seams and holes | Rust streaks that run downward |
| Lower half, boots, feet of a stand | Dust and dirt, heaviest at the bottom |
1. Start from a clean paint job
Weathering sits on top of a finished paint job, so prime, fill and paint first. On a printed part, a filler primer hides layer lines; the finishing guide covers that in full. For anything meant to be metal, paint the metal color first, then your top color over it. That hidden metal layer is what the chips will reveal.
2. Chip the paint
Two ways, and both are easy:
- Sponge chipping. Tear a small piece of kitchen sponge or packing foam so it has a ragged edge, dip it in dark brown or gunmetal paint, dab most of it off on a paper towel, then stipple it onto edges, corners and anywhere that gets knocked. Rotate the sponge so the pattern doesn't repeat.
- Hairspray chipping. Over the dry metal layer, spray a coat of hairspray and let it dry, then paint your acrylic top color. Once that's dry, wet an area with water and scrub it with a stiff brush or a toothpick: the hairspray dissolves and the top color chips away to reveal the metal. It gives the most realistic chips.
For worn-smooth edges instead of chips, rub a fine sanding sponge lightly along the edges until the metal layer shows through.
3. Add a dark wash
A wash is paint thinned with water until it's like dirty water; a drop of dish soap helps it flow into cracks. Brush it over a section, let it settle into the panel lines and around bolts, then wipe the high points with a paper towel before it dries. Black makes things look grimy; brown looks dustier and older. Do one section at a time.
4. Bring out the edges
Rub a tiny amount of Rub 'n Buff Silver Leaf on your fingertip and drag it along the edges and raised details, then buff it; its listing says to apply it with a finger, cloth or brush and then buff. That polished-edge shine reads instantly as worn metal. Dry brushing does the same job with paint: load a stiff brush with a lighter color, wipe almost all of it off, and flick it across the raised details.
5. Rust
Rust builds up in layers and in low spots. Stipple dark brown with a sponge where water would sit: around bolts, in seams, along bottom edges. Add orange over the middle of those patches, then a touch of yellow ochre in small spots. For streaks, pull thinned orange-brown paint straight down from bolts and seams with a fine brush, the way rainwater would carry it.
6. Dirt and dust
Finish with dust: brown and tan weathering powders or crushed pastel chalk brushed on, or a very light mist of tan spray paint from low down, so the bottom of the prop gets the most. Boots, the feet of a stand and the underside of armor get the heaviest coat.
7. Seal it
Seal everything with a flat clear coat, like Krylon COLORmaxx flat clear, in light coats. Flat is the point: shine makes weathering look like paint. Powders fade under clear coat, so add a little extra before sealing, or touch them up afterward on the spots that matter.
Spraying. Hairspray, primer and clear coats are all aerosols: spray outdoors or in a ventilated space, and wear a respirator for longer sessions, like the 3M 6311 organic vapor respirator.
Rust, the game: going heavy
Props from Rust are built from scrap, so they take the heaviest weathering of all: rusted sheet metal, bare-metal edges, mismatched panels and grips wrapped in cloth tape. Real tape wrapped around a grip does more than any paint trick. The Rust print library has 418 files to try it on, and the Fallout, Tarkov and STALKER 2 libraries suit the same treatment.
Foam armor weathers the same way, as long as it's sealed first; the EVA foam guide covers sealing and painting foam.
FAQ
How do you weather cosplay props?
Paint the prop clean first, then add wear in layers: chip the paint on edges and corners, run a dark wash into the recesses and wipe it off the high points, rub metallic wax onto the edges, add rust and dirt where water and ground would reach, and seal it all with a flat clear coat.
How do you weather metal props?
Paint a metal color first and your top color over it, then chip or sand through the top color on edges so the metal shows. A dark wash in the recesses and a metallic wax rubbed on the high points make the metal read as old and handled.
How do you weather PLA prints?
The same way as any prop, once the print is primed: fill and sand the layer lines, prime, paint, then weather. Paint sticks well to primed PLA, and a sanding sponge can wear the paint back to the layer below without cutting into the print.
How do you weather a 3D printed helmet?
Concentrate the wear where a helmet really gets knocked and handled: the brow, the edges of the visor, the chin and the back rim. Keep the visor itself clean, weather in thin layers, and seal with a flat clear coat.
As an Amazon Associate I earn from qualifying purchases. The Amazon links on this page are affiliate links: check the current price and details on Amazon before you buy.
PropBuilds is a fan-run site, not affiliated with or endorsed by the studios or rights holders of the games mentioned.
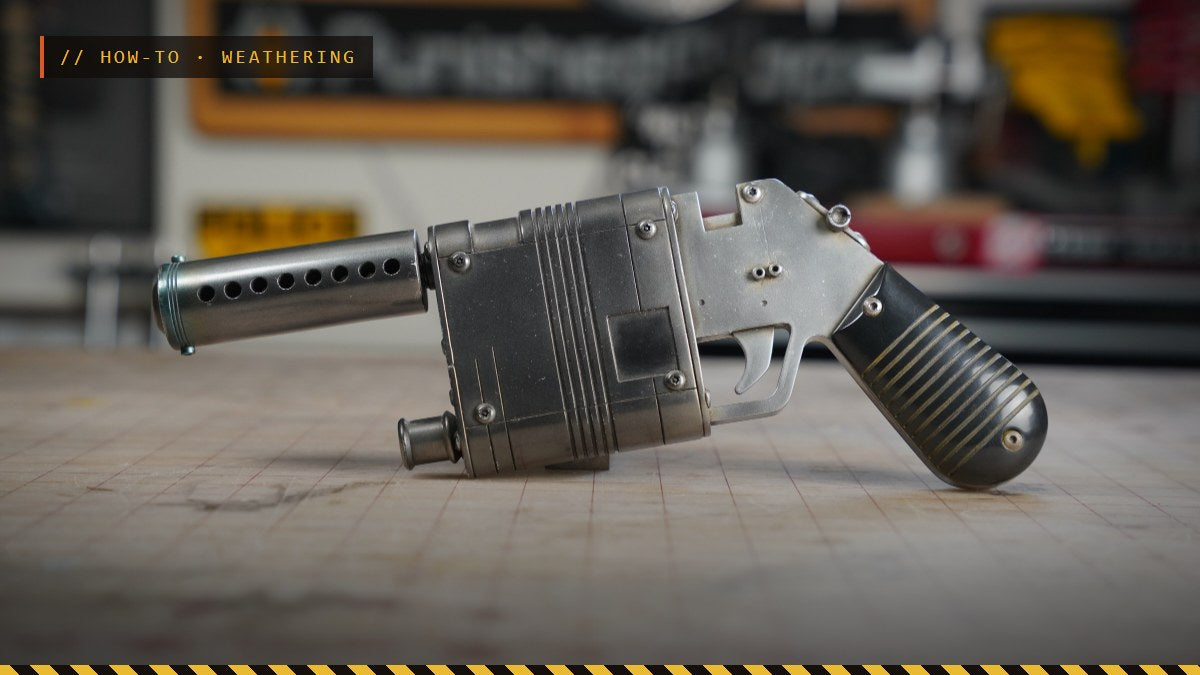
Header photo: Rey's Blaster - Star Wars the Force Awakens Replica Prop by GizmoThrill on Printables, licensed CC-BY; cropped, with an overlay added.