// Contents
PropBuilds earns a commission if you buy through links on this page, at no extra cost to you.
The 3D printing tools you actually need are few: flush cutters for supports, a deburring tool for edges, digital calipers for measuring, a precision knife and a gel super glue. Add a filament dryer when your prints start stringing, and finishing supplies like sanding sponges and filler primer once you want props that look painted rather than printed. Everything else can wait until a project asks for it.
Spend on tools, not files. 4,854 of the 5,491 print files PropBuilds indexes, 88%, are free. The money in this hobby goes on the printer, filament and the handful of tools below, so buy the few you'll use every print and skip the 50-piece kits.
Buy these first
The links go to Amazon, where you can check the current price.
| Tool | What it's for | A pick on Amazon |
|---|---|---|
| Flush cutters | Snipping supports, brims and nubs flush with the surface | Hakko CHP-170 |
| Deburring tool | Shaving off brims, elephant's foot and sharp edges in one pass | WORKPRO deburring tool, 11 blades |
| Digital calipers | Measuring parts, holes and fits, and checking your printer's accuracy | NEIKO 01407A digital caliper |
| Precision knife | Cleaning support scars, trimming and scoring | X-ACTO #1 knife |
| Super glue gel | Joining parts and quick repairs | Gorilla Super Glue Gel |
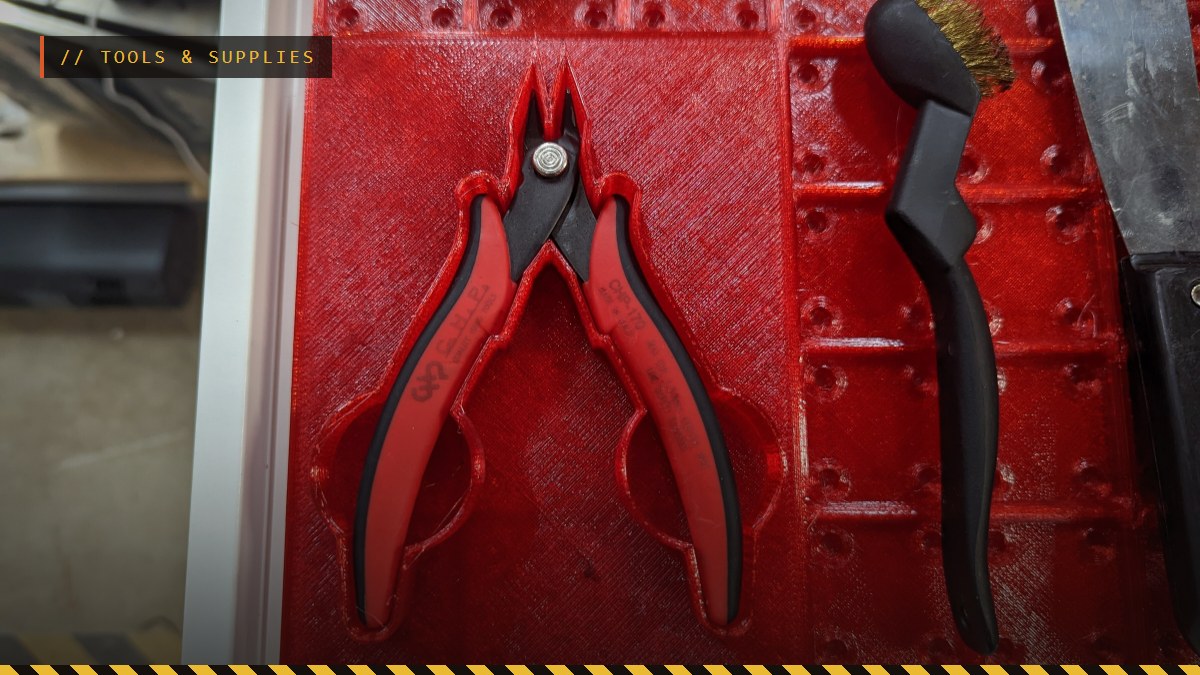
Flush cutters are the tool you'll reach for most. The Hakko CHP-170 has an 8 mm jaw with an angled head that cuts flush, so support nubs come off level with the surface instead of leaving a stub to sand.
A deburring tool has a swivel blade that follows an edge. The WORKPRO deburring tool's listing says it's made for PLA, ABS, PETG and resin and removes brims, rafts, stringing and support marks. Running it along the bottom edge of a print takes off elephant's foot in seconds.
Digital calipers let you measure instead of guess. The NEIKO 01407A reads 0 to 150 mm at 0.01 mm resolution and measures inside, outside, depth and steps, according to its listing. You'll use them to check that a part fits before printing its partner, to size magnet pockets and insert holes, and to see if your printer prints holes undersize.
A precision knife like the X-ACTO #1 cleans up support scars and trims what the cutters can't reach, and a gel super glue like Gorilla Super Glue Gel handles most joins and quick fixes. The joining guide covers when to use epoxy, pins or magnets instead.
Check the box first. Many printers ship with hex keys, a scraper and sometimes a spare nozzle, so don't buy those twice. The tools above often aren't in the box, but check before you buy.
Add these when you need them
| Tool | When you need it | A pick on Amazon |
|---|---|---|
| Filament dryer | When PETG, TPU or old PLA starts stringing and popping | SUNLU Filament Dryer S2 |
| Dry box | Keeping open spools dry between prints | SUNLU 3 kg filament dry box |
| Kitchen scale | Weighing a spool to see how much filament is left | Etekcity 11 lb kitchen scale |
| Sanding sponges | Smoothing layer lines before paint | 3M dual-grit sanding sponges |
| Filler primer and putty | Hiding layer lines and seams on props | Rust-Oleum filler primer; Bondo spot putty |
| Heat-set inserts | Metal threads for parts you screw together | Preciva M3 insert kit |
| Magnets | Parts that pop on and off | 6 x 3 mm neodymium magnets |
| Rotary tool | Sanding, cutting and carving props and big prints | Dremel 4300 rotary tool kit |
| Respirator | Spray paint, primer and resin work | 3M 6311 organic vapor respirator |
A filament dryer earns its place the first time PETG strings everywhere. Filament absorbs moisture from the air, and the SUNLU Filament Dryer S2's listing describes exactly the symptoms it fixes: stringing, clogging and poor adhesion from wet filament. The filament guide covers which materials are most sensitive.
Once it's dry, a dry box keeps it that way. The SUNLU 3 kg dry box holds two 1 kg spools with desiccant and a hygrometer that shows the humidity inside, and its listing says the PTFE tubes it comes with let you feed the printer straight from the box. A kitchen scale answers the other question, how much filament is left: the Etekcity 11 lb scale weighs to 5 kg in 1 g steps with a tare button, and the filament calculator turns what's left on the spool into meters.
Finishing supplies matter if you print props: sanding sponges, a spot putty for seams and a filler primer turn a printed part into something that looks cast or machined. The finishing guide walks through the whole sand, prime and paint process.
Heat-set inserts and magnets come in when you design parts that come apart: a helmet with a removable visor, a prop with a battery door, a stand with a detachable base.
For resin printing
Resin needs its own kit, and safety comes first: nitrile gloves, eye protection, isopropyl alcohol for washing, and fresh air or a respirator like the 3M 6311. A wash and cure station like the ELEGOO Mercury Plus V3.0, which has a 7.5 L wash tank according to its listing, keeps the messy part in one box. The resin vs filament guide covers the safety basics in full.
Free tools that help too
Two PropBuilds calculators cover the math: the 3D print cost calculator works out what a print costs in filament and power, and the filament calculator converts grams to meters and checks whether a spool has enough left for a long print. For helmets, the helmet size calculator finds the scale that fits your head.
FAQ
What tools do you need for 3D printing?
Five cover almost everything at first: flush cutters for supports, a deburring tool for edges, digital calipers for measuring, a precision knife for cleanup and a gel super glue. Check your printer's box before buying; many printers ship with hex keys and a scraper.
What supplies do you need for 3D printing?
Filament first, and a dry place to keep it, since damp filament prints badly. Then whatever your projects need: glue for joining parts, sandpaper and primer if you paint your prints, and inserts or magnets for parts that come apart.
What are the must-have tools for resin 3D printing?
Nitrile gloves, eye protection, a respirator or good ventilation, isopropyl alcohol for washing, and a UV curing setup. A combined wash and cure station saves a lot of mess. Add flush cutters for supports.
Is a 3D printer tool kit worth buying?
Only if it has the few tools you'll actually use. Many kits pad the count with bits you won't touch; buying good flush cutters, calipers and a deburring tool on their own often costs less and lasts longer.
As an Amazon Associate I earn from qualifying purchases. The Amazon links on this page are affiliate links: check the current price and details on Amazon before you buy.
PropBuilds is a fan-run site, not affiliated with or endorsed by the studios or rights holders of the games mentioned.
Header photo: CHP-170 Flush Cutter Gridfinity by Peter Sassaman on Printables, licensed CC-BY-SA; cropped, with an overlay added. The edited header is shared under the same licence.