// Contents
PropBuilds earns a commission if you buy through links on this page, at no extra cost to you.
To make EVA foam props and armor, trace a paper pattern onto high-density EVA foam, cut it with a very sharp blade, glue the pieces edge to edge with contact cement, and curve them with a heat gun. Then seal the foam so it can't soak up paint, prime it with something flexible, and paint. Most armor uses 5 to 10 mm foam, with 2 mm sheets for the details. The tools are cheap, and foam armor is light enough to wear all day.
The short version. Pattern, cut, glue, heat, seal, paint. Keep your blade razor sharp, since a dull blade tears foam. Contact cement goes on both edges and has to dry until tacky before you press them together. Heat does two jobs: it curves the foam and closes its surface. And work with fresh air, because contact cement and spray primers give off strong fumes.
Foam or 3D printing?
Foam is best for big armor: chest plates, shoulders and leg armor are large, curved and need to flex as you move, and foam does all of that while weighing much less than a printed shell. Printing wins for hard, detailed pieces like helmets, blasters and small emblems. Many builds mix both: foam armor with printed details glued on. If you're printing, the resin vs filament guide covers which printer suits which part.
What you need
The links go to Amazon, where you can check the current price.
| Job | What works | A pick on Amazon |
|---|---|---|
| Foam | High-density EVA sheets: 2 mm for details, 5 to 10 mm for armor | Foamory 10 mm EVA foam sheet |
| Cutting | A precision knife with plenty of spare blades, a metal ruler and a cutting mat | X-ACTO #1 knife with #11 blades |
| Glue | Contact cement: a thin coat on both edges, let it go tacky, then press | Barge All-Purpose TF Cement |
| Shaping | A heat gun to curve the foam and seal its surface | SEEKONE heat gun |
| Smoothing | A rotary tool with a sanding drum, or sanding sponges for seams | Dremel 4300 rotary tool kit; 3M dual-grit sanding sponges |
| Sealing | A flexible primer that bends with the foam | Plasti Dip clear spray |
| Paint | Acrylics, a metallic wax for edges, and a clear coat | Army Painter Warpaints starter set; Rub 'n Buff Silver Leaf; Krylon flat clear |
| Safety | A respirator for glue fumes and spray paint | 3M 6311 organic vapor respirator |
Which thickness for what
| Foam | Use it for |
|---|---|
| 2 mm | Trim, raised lines, layered panels and small details |
| 5 to 6 mm | Parts that bend around you: gauntlets, bracers, belts, and many foam helmets |
| 10 mm | Main armor plates: chest, back, shoulders, thighs |
| 20 mm and up | Blocks you carve: sword blades, big prop cores, sculpted shapes |
A 10 mm sheet is the one to start with if you're making armor plates; add a 2 mm sheet for details.
1. Make a pattern
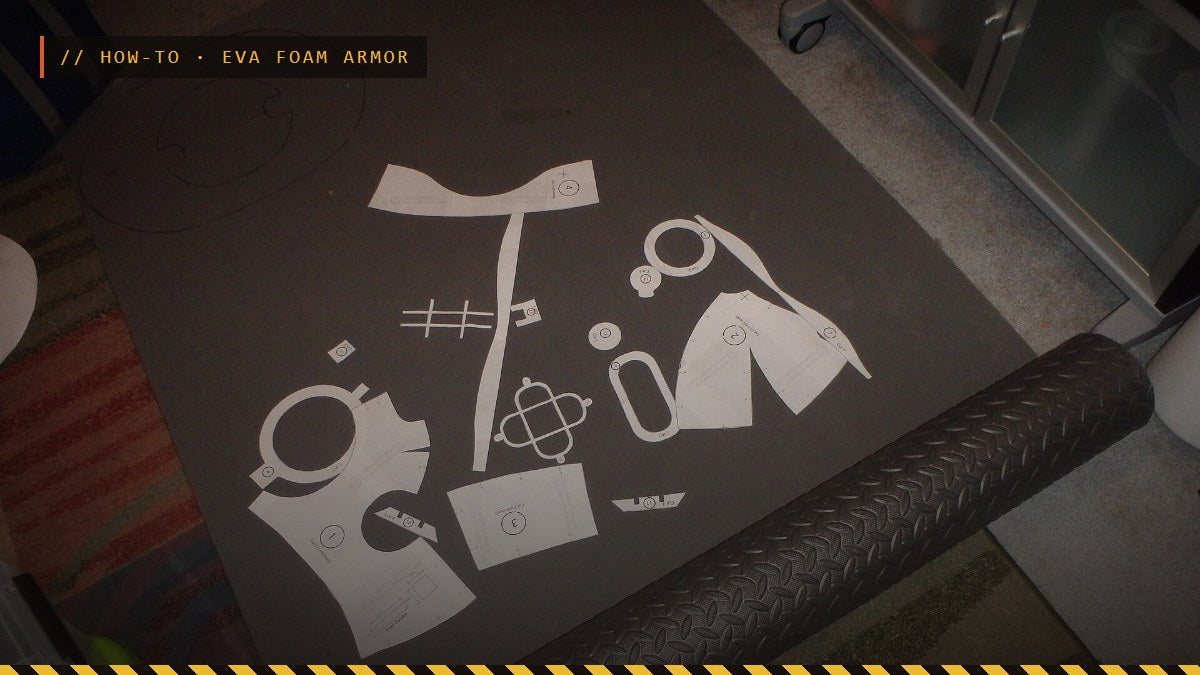
Wrap the body part, or a dress form, in plastic wrap, cover it with masking tape, and draw the armor panels on the tape with a marker. Cut the tape shell off along the lines and flatten each panel onto paper: that's your template. Cut it from poster board first and tape it together to check the fit before you touch the foam. Mark which edges join which, and label left and right.
2. Cut it
Trace the templates onto the foam and cut with a fresh blade, like the #11 blades in an X-ACTO #1 knife. Swap in a new blade the moment it drags, because a dull blade tears the foam instead of slicing it. Hold the blade straight up for edges that butt together, and at an angle where two panels meet at a corner, so the join closes neatly. Make several light passes on thick foam rather than one hard one, and keep your other hand behind the blade.
3. Heat it into shape
Warm the foam with a heat gun until it softens, bend it to shape, and hold it there until it cools; it keeps the curve. A heat gun with variable temperature lets you stay on a low setting. Keep the gun moving, because foam scorches and shrinks if you hold it in one spot. Heat also closes the foam's surface pores, which helps later when you seal and paint.
4. Glue it
Foam joins are glued with contact cement. Spread a thin coat on both edges, let it dry until it's tacky but no longer wet (the tube says how long), then press the edges together. It grabs on contact, so line the parts up before they touch. Barge All-Purpose TF Cement, whose listing says it bonds with one coat and stays flexible and waterproof, goes a long way on foam seams.
Fumes. Contact cement is solvent-based and flammable. Use it outdoors or with a window open and a fan, keep it away from flames and heat guns, and wear a respirator with organic vapor cartridges, like the 3M 6311 respirator, for longer sessions.
5. Add details and smooth the seams
Layer 2 mm foam on top for raised panels and trim, and cut or carve lines for panel gaps. Sand seams and edges smooth: a rotary tool with a sanding drum is fastest (a Dremel 4300 runs from 5,000 to 35,000 RPM, and a low speed keeps the foam from melting), and sanding sponges are gentler for final passes. Sand with a mask on, since foam dust is fine and floaty.
6. Seal, prime and paint
Unsealed EVA soaks up paint and looks blotchy, so seal it first with something that flexes with the foam. Plasti Dip clear spray is a common choice: its listing describes a rubber coating that stays flexible and stretchy over time. Spray several thin coats outdoors, letting each one dry.
Then paint with acrylics, like the Army Painter Warpaints Fanatic starter set (11 paints, 18 ml each). For worn metal edges, rub a little Rub 'n Buff metallic wax on the high points with a finger and buff it. Finish with a clear coat like Krylon COLORmaxx flat clear to protect the paint. Test it on a painted scrap you can bend first: on parts that flex a lot, a final coat of clear Plasti Dip stays more flexible.
7. Straps and fitting
Attach elastic or nylon straps with buckles on the inside of each piece, glued with contact cement and, for anything that takes weight, backed with a foam patch on top. Try the armor on and move in it: squat, raise your arms, sit down, and trim wherever it pinches or blocks you before the final paint.
Safety
- Knives: cut on a mat, away from your body, with your other hand behind the blade. A sharp blade is safer than a dull one because it doesn't slip.
- Heat gun: the nozzle stays hot after you switch it off. Set it down on a heat-safe surface, and keep it away from glue and spray cans.
- Glue and sprays: fresh air, a respirator for long sessions, and no flames.
What to make first
Start small: a bracer, a belt piece or a pauldron teaches you patterning, cutting, heat-forming and gluing in an afternoon. Then go bigger. When the armor's done, the display guide covers stands and cases, and the helmet padding guide covers making a printed helmet comfortable to wear with it.
FAQ
What foam do you use for cosplay?
High-density EVA foam, sold in sheets from 2 mm up to 10 mm and thicker. Use 2 mm for details, 5 to 6 mm for parts that bend around you, and 10 mm for main armor plates. Interlocking floor mats are EVA too and fine for practice, but one side is usually textured.
What tools do you need for EVA foam cosplay?
A sharp knife with lots of spare blades, a metal ruler, a cutting mat, contact cement, a heat gun, something to sand with and a marker for patterns. Add a respirator for glue fumes, a flexible primer to seal the foam, and paint.
How do you seal EVA foam before painting?
Pass a heat gun over it to close the surface, then spray or brush on a flexible sealer or primer in thin coats. Plasti Dip is a common choice because it stays flexible. Unsealed foam soaks up paint and looks blotchy.
How do you make cosplay armor with EVA foam?
Make a pattern by wrapping the body part in plastic wrap and tape, drawing the panels, and cutting it off to trace onto foam. Cut the foam with a sharp blade, heat it to curve it, glue the panels with contact cement, then seal, paint and add straps.
As an Amazon Associate I earn from qualifying purchases. The Amazon links on this page are affiliate links: check the current price and details on Amazon before you buy.
PropBuilds is a fan-run site, not affiliated with or endorsed by the studios or rights holders of the games mentioned.
Header photo: EVA foam for cosplay by osseous from Oakland Park, U.S.A. on Wikimedia Commons, licensed CC BY 2.0; cropped, with an overlay added.