// Contents
PropBuilds earns a commission if you buy through links on this page, at no extra cost to you.
Join most 3D printed parts with glue: super glue gel for small parts and quick joins, two-part epoxy for big seams and anything with gaps. Add pins where parts have to line up exactly, use magnets for parts you want to take off, and use heat-set inserts with screws for parts you open again and again. Then fill and sand the seam so it disappears under paint.
Pick by one question: does it ever need to come apart? If not, glue it: super glue for small parts, epoxy for big ones, pins for alignment. If it does, use magnets for parts that lift off, and threaded inserts and screws for parts you unscrew. Whatever you pick, sand the faces lightly first, because glue grips a scuffed surface much better than a smooth one.
The options at a glance
The links go to Amazon, where you can check the current price.
| Method | Best for | Comes apart? | A pick |
|---|---|---|---|
| Super glue gel | Small parts and quick joins on PLA | No | Gorilla Super Glue Gel |
| Two-part epoxy | Big seams, helmet halves, joins with gaps | No | J-B Weld ClearWeld |
| Pins plus glue | Long parts that must line up: blasters, swords, staffs | No | Filament offcuts or metal rod |
| Magnets | Parts you take off: visors, armor plates, battery covers, stands | Yes | 6 x 3 mm neodymium magnets |
| Inserts and screws | Parts you open again and again: electronics bays, mounts | Yes | M3 heat-set insert kit |
First: prepare the faces
Most failed joins fail at the surface. Before any glue, dry-fit the parts and sand down anything that stops them sitting flush: elephant's foot on the first layers, support scars, blobs. Scuff both faces with coarse sandpaper, blow or wipe the dust off, and keep your fingers off the faces afterward.
Super glue for small parts
Super glue bonds PLA and ABS well when the faces fit tightly; PETG is harder to glue, so scuff it well or use epoxy. A gel, like Gorilla Super Glue Gel, stays where you put it on vertical faces and doesn't run into details. Use a thin line, not a puddle: too much glue takes longer to set and leaves a white bloom around the seam. Press the parts together and hold them still until they grab.
Epoxy for big seams
Helmet halves, armor panels and anything with a gap want epoxy, which fills gaps and gives you working time to line things up. J-B Weld ClearWeld is a clear two-part epoxy whose listing says it bonds most plastics, sets in 5 minutes, cures in 1 hour and has a tensile strength of 3,900 psi. Mix only what you can use in a few minutes, spread it on both faces, clamp or tape the parts, and wipe off the squeeze-out before it sets.
Pins for alignment and strength
Long parts like rifle barrels and sword blades break at glued seams when they're bent. Pins fix both problems: they line the parts up perfectly and carry the bending load across the joint. Some prop files come with pin holes built in; if yours don't, drill matching holes in both faces. Offcuts of 1.75 mm filament make handy pins for small parts. For long, heavy parts, a metal rod or threaded rod glued in with epoxy is much stiffer.
Magnets for parts that come off
Magnets let you pop off a visor, an armor plate or a battery cover without tools. Small neodymium disc magnets, like these 6 x 3 mm magnets (50 in a pack), are the usual choice. Their listing gives a tolerance of minus 0.1 mm, so they're never oversized, and it warns that letting them snap together can break them. Printed holes usually come out a little small, so design the pocket slightly bigger than the magnet. These are starting points for a 6 x 3 mm magnet; print a test strip first, because printers differ:
| Diameter | Depth | |
|---|---|---|
| Press fit, no glue | 6.1 mm | 3.2 mm |
| Glued in | 6.2 to 6.3 mm | 3.2 mm |
| Hidden under a skin | 6.2 mm | 3.2 mm, then 0.4 to 0.6 mm of plastic printed over it |
- Check polarity before gluing. Stack the two magnets that will meet, mark the outward faces of the pair with a marker, and glue each one in with the marked face out. Getting one backward is the classic mistake.
- Glue them in with super glue or epoxy; a magnet that pulls out of its pocket stays stuck to its partner.
- Hide them by pausing the print just before the first layer that covers the pocket, dropping the magnet in, and letting the printer cover it. Most slicers can add a pause at a chosen layer.
Heat-set inserts for parts you open again and again
Screws driven straight into plastic strip their threads after a few uses. A brass threaded insert, melted into a hole with a soldering iron, gives you a metal thread that lasts. The Preciva M3 insert kit comes with a 60 W digital soldering iron adjustable from 200 to 500 degrees C, two M3 insert tips, 130 brass inserts, 130 bolts and 100 nuts, and its listing says the inserts suit PLA, ABS and nylon.
- Make the hole the size the insert's maker gives, usually a little smaller than the insert's outer diameter.
- Set the iron to around the temperature you print that filament at, and lower it if the plastic bulges or smokes.
- Press the insert in slowly and straight, stop just short of flush, and press it level with something flat and cool while the plastic sets.
Hide the seam
Once the glue has cured, fill the seam line with Bondo Glazing and Spot Putty, which its listing says fills pinholes, scratches and hairline cracks. Let it dry, sand it flush, and spray a filler primer. Primer shows every leftover line; fill, sand and prime again until it's gone. The finishing guide covers the full sand, prime and paint process.
Safety. Super glue bonds skin in seconds, so keep acetone-based nail polish remover nearby. Mix epoxy in gloves with fresh air. A soldering iron tip is hot enough to burn instantly: put it back in its stand every time. And keep neodymium magnets away from children: swallowed magnets can cause serious internal injuries.
Where to go next
If you're choosing a printer for bigger parts with fewer joins, see the printer guide. For helmets, the helmet size calculator works out your scale and checks whether it fits your printer, and the padding guide covers the visor and straps, which are a good use for those inserts.
FAQ
What is the best glue for PLA?
Super glue (cyanoacrylate) for small parts and tight joins, and two-part epoxy for large or load-bearing seams and joins with gaps. A gel super glue is easier to control than the thin kind. Sand both faces lightly first so the glue has something to grip.
How do you glue 3D printed parts together?
Dry-fit the parts, sand the joining faces lightly, wipe off the dust, then glue: a thin layer of super glue for small parts, or mixed epoxy for big seams. Hold or clamp the parts until the glue sets, and use pins if they need to line up exactly.
How do you join 3D printed parts seamlessly?
Glue them with pins for alignment, then fill the seam with a spot putty, sand it flush, and prime with a filler primer. Repeat the fill and sand until the line disappears under primer.
What size hole for M3 heat set inserts?
It depends on the insert: use the hole size its maker gives, which is usually a little smaller than the insert's outer diameter so the melted plastic grips it. Print a test piece with a few hole sizes and use the one where the insert goes in straight and flush.
How do you put magnets in 3D prints?
Design a pocket slightly bigger than the magnet, print it, check the polarity against the matching magnet, then glue the magnet in with super glue or epoxy. Mark the facing side with a marker before you glue, so the pair attracts instead of repelling.
As an Amazon Associate I earn from qualifying purchases. The Amazon links on this page are affiliate links: check the current price and details on Amazon before you buy.
PropBuilds is a fan-run site, not affiliated with or endorsed by the studios or rights holders of the games mentioned.
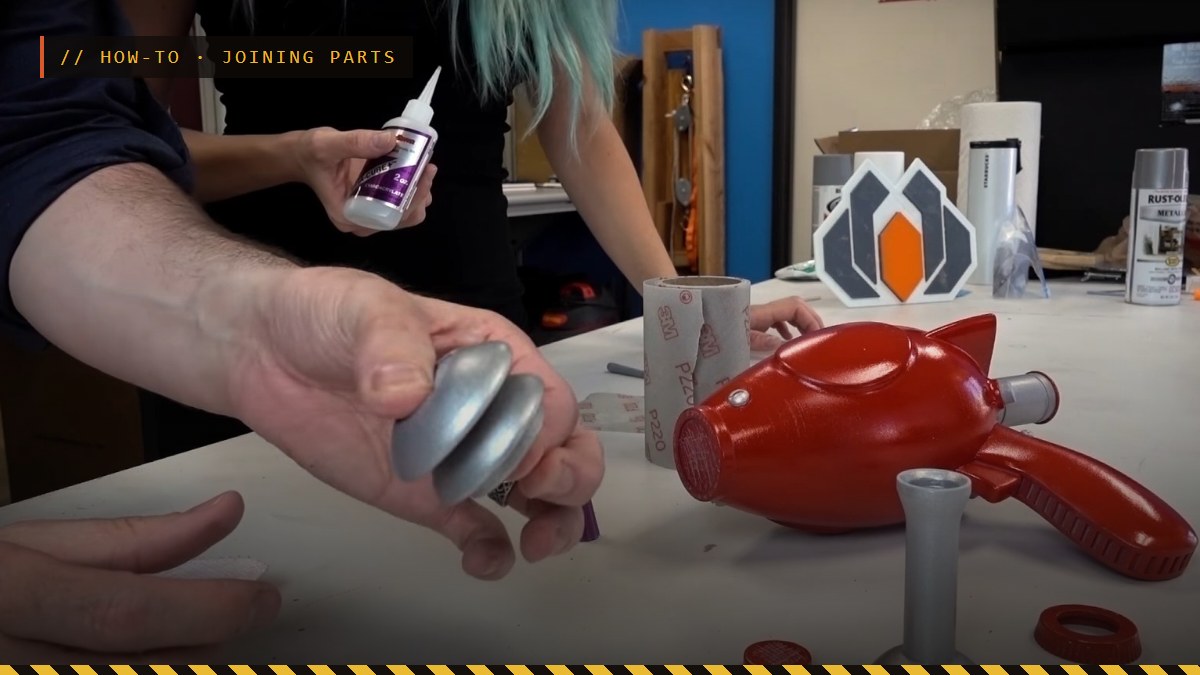
Header photo: Thirst Zapper - Fallout Replica Prop by GizmoThrill on Printables, licensed CC-BY; cropped, with an overlay added.