// Contents
PropBuilds earns a commission if you buy through links on this page, at no extra cost to you.
To split a large 3D model for printing, open it in a slicer with a cut tool, such as Bambu Studio, OrcaSlicer or PrusaSlicer, and cut it where the real object would have a seam: between the stock and receiver of a rifle, around the visor of a helmet, along panel lines on armor. Add connectors so the parts line up, lay each part on its flattest face, print, then glue and fill the seams. Done that way, the joins disappear under primer.
When to split. Bambu Lab's own guide puts it simply: any object that exceeds even one dimension of your printer's build volume has to be broken into parts. It's also worth splitting a model that would fit, when splitting lets each part print flat with fewer supports or means a tall, thin part isn't printed standing up.
1. Plan the cuts before you cut
Where you cut matters more than how. Good places to cut:
- Along natural seams: where the real object has panel lines, joints or trim, a glued seam looks like part of the design.
- Where the part is thick: a cut through a thick section leaves room for connectors and glue. Avoid cutting through thin fins, text or fine detail.
- On a hidden face when there's a choice: the inside of a helmet, under a grip, behind a strap.
- So each part prints flat: a cut face makes a perfect flat base, so orient it down on the bed.
Measure the model in your slicer first: if any dimension is bigger than your printer's, you'll need at least one cut across it. The scale calculator works out the size at a new scale, and for helmets the helmet size calculator finds the scale that fits your head before you start cutting.
2. Cut it in your slicer
In Bambu Studio, select the model and press C, or pick the Cut tool from the toolbar. Choose the axis, then drag the cut plane or type a height; holding Shift while you drag the mouse draws a cut plane square to your view. Planar is the default mode, and a Dovetail mode makes interlocking cuts. After cutting you can keep both parts or drop one, and choose Keep orientation, Place on cut or Flip for each part. OrcaSlicer, which is built on Bambu Studio, has the same kind of cut tool.
In PrusaSlicer, press C or pick the Cut tool from the left toolbar; you can type the cut height, rotate the plane with the arrows on the widget, or hold Shift and click two points to set it.
If your slicer has no cut tool, cut the model in one of those free slicers, export the parts, and open them in your own.
3. Add connectors
Connectors are the difference between parts that line up on their own and parts you hold in place and hope. Both slicers offer the same three types, and Bambu Studio adds its dovetail mode:
| Type | What it makes | Good for |
|---|---|---|
| Plug | A peg on one part and a matching hole in the other | The default in Bambu Studio; quick alignment for most cuts |
| Dowel | Holes in both parts plus a separate pin to print | Strong joins, with a pin you can reprint if it breaks |
| Snap | A snap-fit peg on one side and a socket on the other | Parts you want to hold together while the glue sets, or without glue |
| Dovetail (Bambu Studio mode) | An interlocking dovetail along the cut | Long flat joins that must line up exactly |
Fit depends on your printer. Bambu Lab's wiki suggests setting the cut tolerance to 0.15 to 0.3 mm if the pegs come out too tight or too loose. Measuring a test peg and its hole with digital calipers tells you which way to adjust before you print the big parts. If you'd rather use your own pins, the joining guide covers pins, magnets and inserts.
4. Print the parts the same way
Print every part with the same layer height and, where you can, the same orientation relative to the seam: Bambu Lab's guide recommends exactly that to avoid ridges where the parts meet. Keep supports off the cut faces and connectors, since support scars there ruin the fit; paint supports away from them in the slicer, or put the cut face flat on the bed so it needs none.
5. Glue and hide the seams
Dry-fit everything first. Then glue: gel super glue for small parts and tight joins, or J-B Weld ClearWeld epoxy for big seams and gaps; its listing says it bonds most plastics and sets in 5 minutes. Once it's cured, fill the seam with Bondo spot putty, sand it flush with sanding sponges, and spray a filler primer; primer shows any line that's left, so fill, sand and prime again until it's gone. The finishing guide covers the whole process.
Split for color, too. Cutting a model along its color boundaries lets you print each part in its own color on a single-color printer, then glue them together. Bambu Studio can also cut to parts instead of separate objects, so a multi-color printer can print them as one object.
Pick a project
Big props are where splitting pays off: the Halo, Helldivers 2 and Fallout print libraries are full of helmets and full-size weapons, and some files there already come split for smaller beds. If you're choosing a printer for big parts, the printer guide compares bed sizes.
FAQ
How do you split a 3D model for printing?
Open it in a slicer with a cut tool, such as Bambu Studio, OrcaSlicer or PrusaSlicer, place the cut plane where the model has a natural seam, add connectors so the parts line up, and cut. Then lay each part on its flattest face and print. Glue the parts together and fill the seam before painting.
How do you split a model in Bambu Studio?
Select the model and press C (or pick the Cut tool from the toolbar). Choose the axis, drag the cut plane into place or type a height, turn on connectors if you want pegs, then perform the cut. Bambu Lab's wiki suggests a cut tolerance of 0.15 to 0.3 mm if the connectors come out too tight or too loose.
How do you split a 3D model in Blender for printing?
Duplicate the object, then use the Bisect tool in Edit Mode on each copy: clear the inner side on one and the outer side on the other, with Fill turned on so the cut face is closed, and export each half. A slicer's cut tool is quicker for simple cuts, and it can add connectors for you.
How do you split a model for 3D printing without an AMS?
If the goal is several colors, split the model along the color boundaries, print each part in its own color, and glue them together. For color changes that run in horizontal bands, most slicers can instead pause or change filament at a chosen layer, so you swap the spool by hand.
As an Amazon Associate I earn from qualifying purchases. The Amazon links on this page are affiliate links: check the current price and details on Amazon before you buy.
PropBuilds is a fan-run site, not affiliated with or endorsed by the studios or rights holders of the games mentioned.
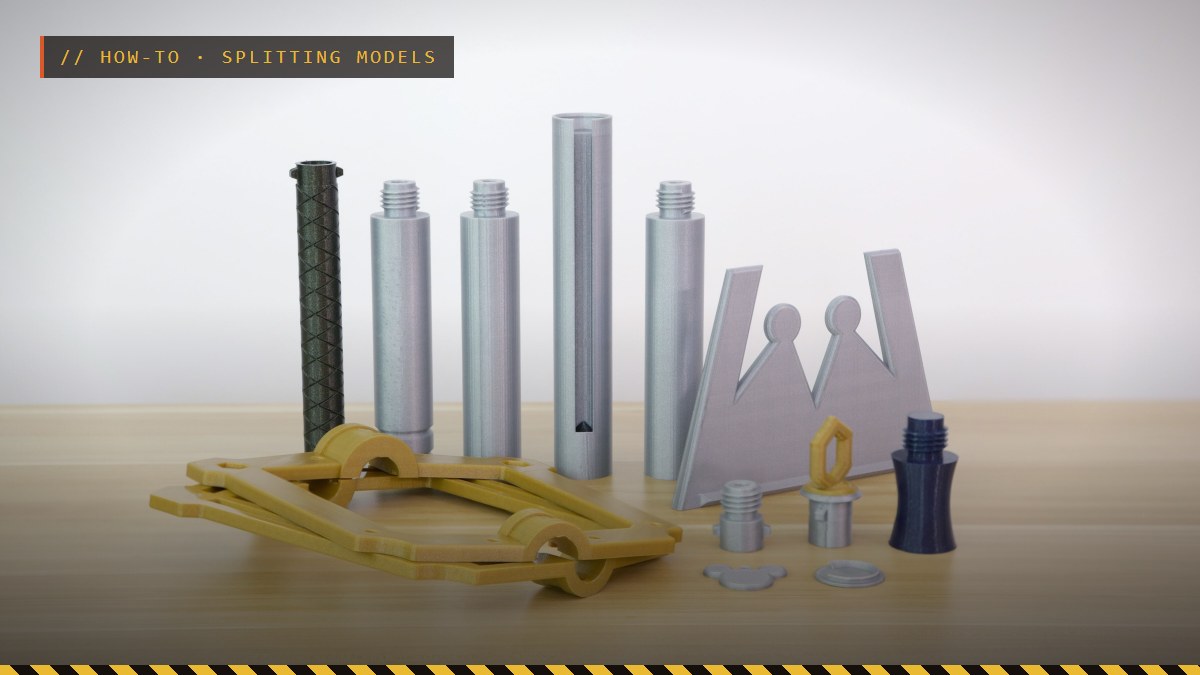
Header photo: Kingdom Key - Yet Another Keyblade by Adafruit on Printables, licensed CC-BY; cropped, with an overlay added.